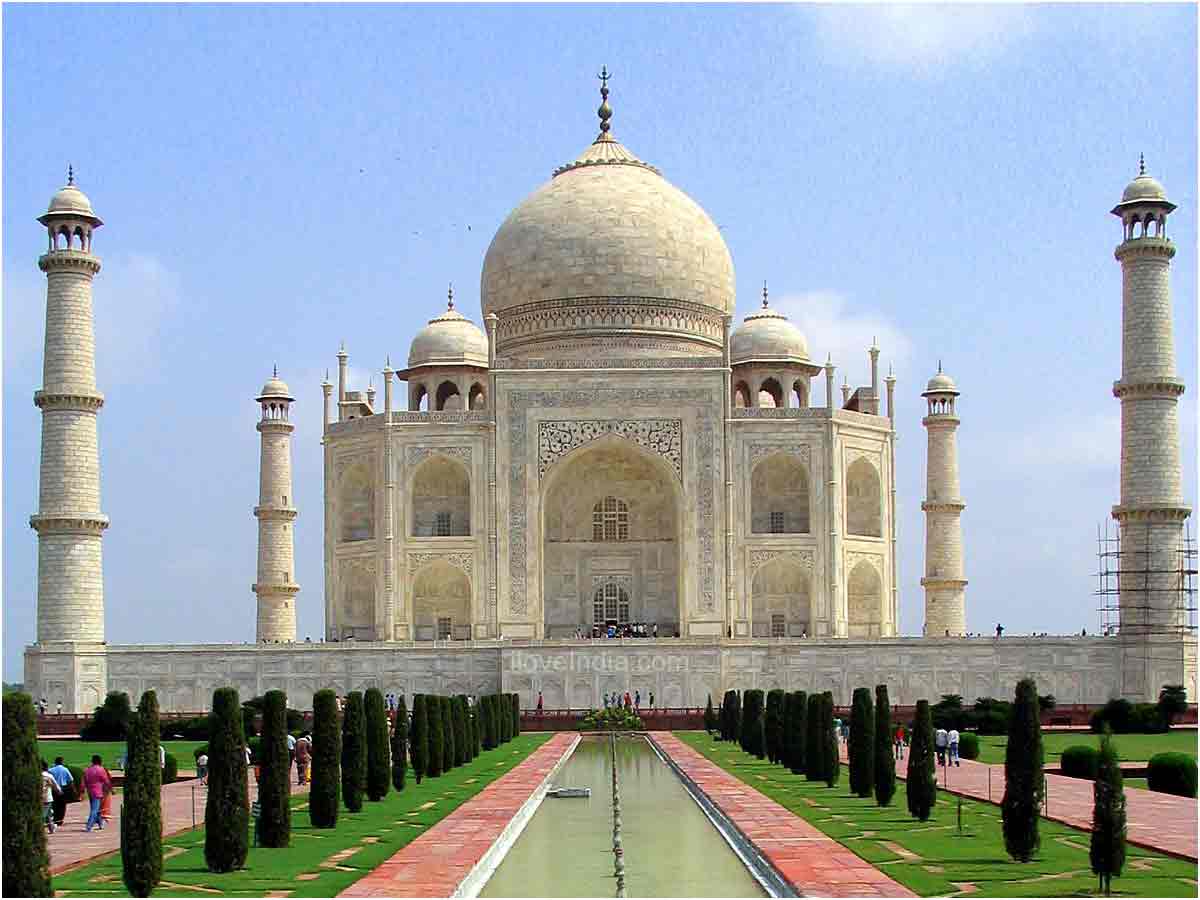
1. This is the images that i used for my calendar. Since our theme is Photo Manipulation using wonders of the world, i used Tajmahal as my background.
1. First, i opened a blank document in the size of A4. I fill up the background with black and used photoshop interface as the layout.
1. I opened the Tajmahal image and place it in the document.
1. Using eraser tool i erased unnecessary parts of the image. I played with different size of the eraser .
After finish erasing i placed the image in the corner of right side so that it won’t interrupt my calendar.
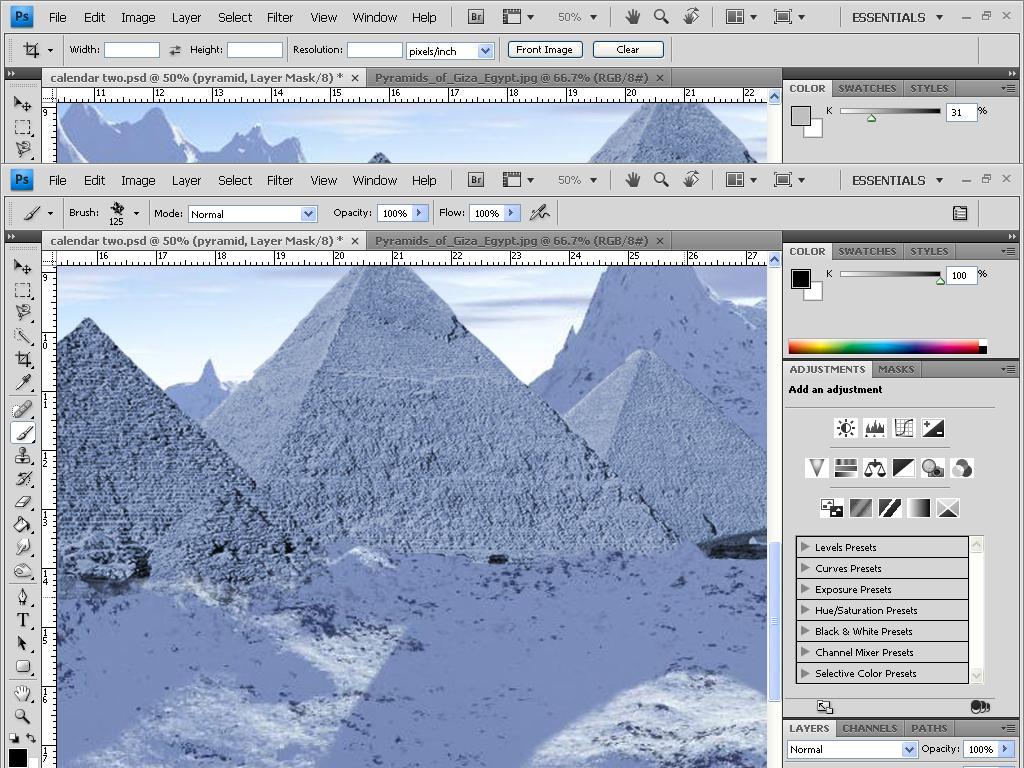
1. I opened the landscape image and place it behind the Tajmahal.
1. To make it realistic, i applied layer mask to the tajmahal and using brush tool and black as the foreground color i maked the grasses to be appeared in front of the tajmahal.
1. I open the picture of myself that i have taken earlier and cut it out using magnetic lasso tool.
1. I placed it into image. Using layer mask and brush tool i maked the picture look like im holding the top of the tower.
2. Then, i applied gradient overlay to my picture to give lighting as same as the tajmahal.
3. Then i started my work on the typography. I typed the word January using Trajan pro font in 60pt. I applied color overlay and outer glow effect to the word. I used green color because its matches my background.
4. Then using pen tool, i maked a working path under the month. Then i stroke the path using brush with 7px. Then i applied color overlay b outer glow effect to the line. Then i delete the working path.
5. Then, i draw a box in the left of the image to be the backdrop of my calendar.
6. I change the color to light blue and reduce the opacity.
7. Before starting my calendar, i maked the days and dates using Illustrator. Then i copied the vector object into the psd file. I resize it according to the box size.
8. Then i opened my personal photos and using magnetic lasso tool i cut it out and placed into the calendar.
9. I resized the image and placed it under the box , so that it will look like im holding the calendar.
10. Then i rasterize the box and then applied layer mask. Using brush tool i erase the box at part of my hand where it touches to make it realistic.
11. Then i cut another picture and placed into the calendar.
12. This time i have to erase the parts of the wall in between my picture.
13. I placed the image on the stroke path as i laying on it.
14. Using masking technic i maked the ‘Y’ to be infront of my arm.
15. Then i applied bevel and emboss effect to the box.
16. Since im satisfied with the calendar i finalize it. But before that , since my group members asked to take out the photoshop interface, i just delete it.
17. Thats all.